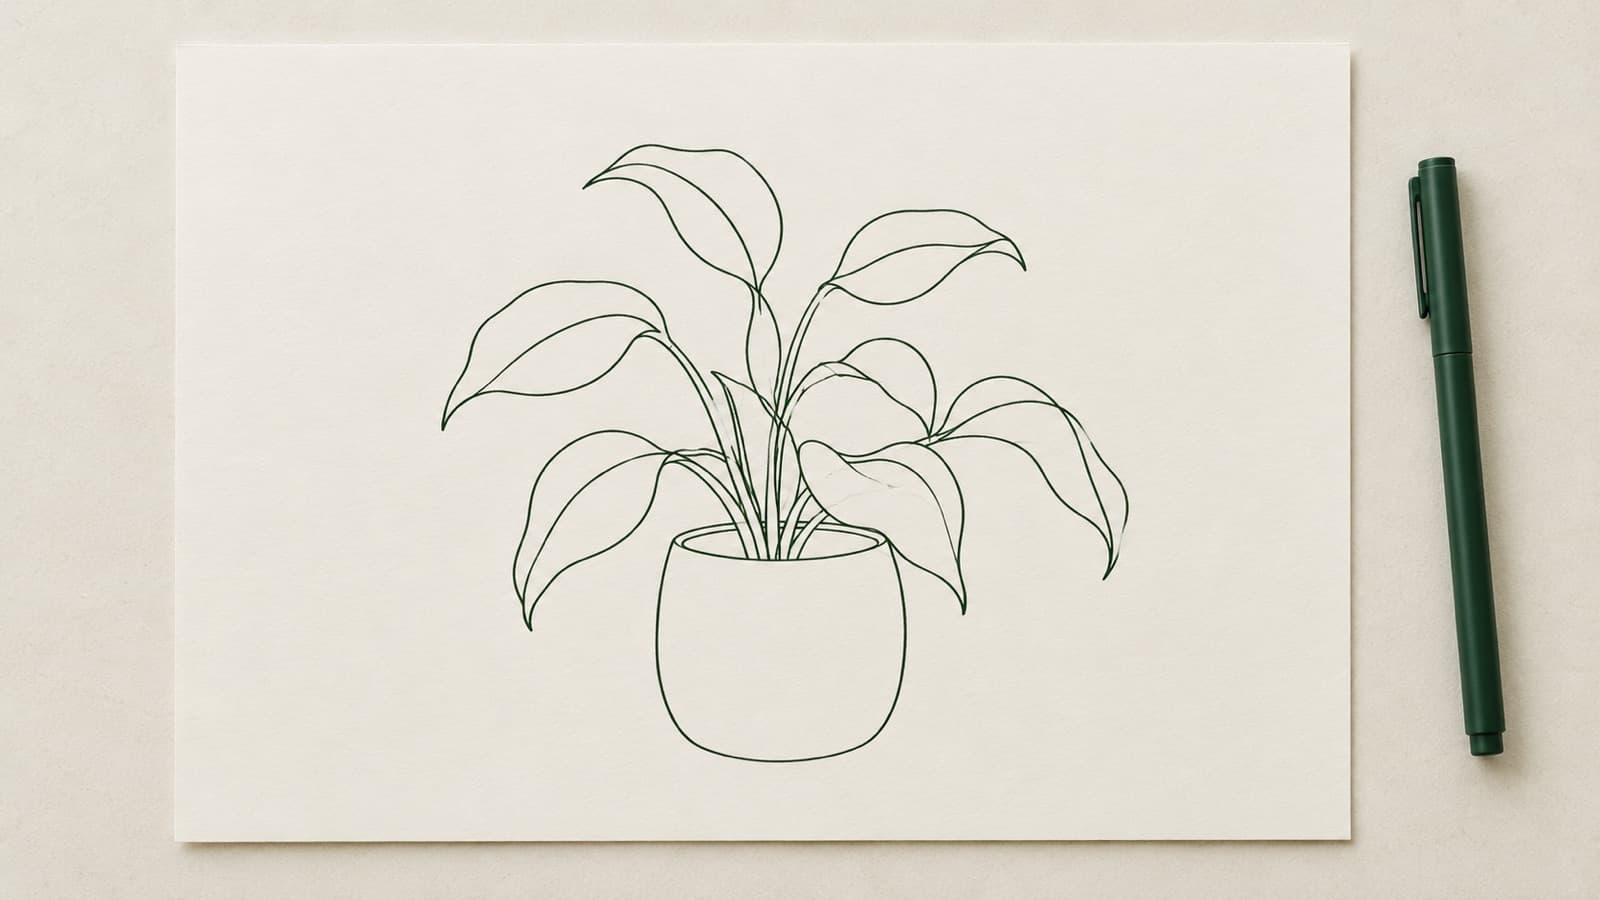
Contour Line Drawing: Types, Exercises and Examples
Learn contour line drawing: blind, modified and cross-contour exercises, a one-week practice plan, common mistakes, and turning a photo into contour lines.
Contour line drawing is often the first exercise in a drawing class, and for good reason. It skips shading, color and tricks, and asks one thing of you: look closely at an edge and let your pen follow it. This guide explains the main types of contour drawing, how to practice each one, and what to watch for as you improve.
Try it in LineSVG → Photo to line art turns a reference photo into contour-style lines you can trace or print.
Quick answer: A contour line drawing uses only lines that follow the edges of a form, with no shading. To start, pick a simple object such as your own hand, set a timer for five minutes, and slowly trace its edges with your eyes while your pen moves at the same pace on the paper.
What is contour line drawing?
A contour is the edge where a form turns away from you or meets another form. A contour line drawing records those edges with line alone. There is no tone, no hatching and no smudged shadow. Any sense of volume has to come from where the lines go and how they change.
There are two kinds of contours to look for:
- The outer contour is the outside edge of the whole subject, the shape you would see in silhouette.
- Inner contours are the edges inside that shape: the crease of a knuckle, the fold of a sleeve, the rim of a cup seen against its body, the line where a petal overlaps another.
Beginners tend to draw only the outer contour, which gives a flat outline. Inner contours are what make a drawing feel solid.
The exercise is old and well tested. Kimon Nicolaïdes made contour and blind contour drawing central to his teaching in The Natural Way to Draw, and Betty Edwards uses pure contour drawing in Drawing on the Right Side of the Brain to help students draw what they see instead of what they expect.
Types of contour drawing
Each related exercise trains something different.
| Type | What it is | Look at the paper? | Goal | Good for |
|---|---|---|---|---|
| Pure / blind contour | Follow the edges of the subject with your eyes while the pen follows on paper | No, never | Train slow, close observation | Breaking the habit of drawing symbols; warm-ups |
| Modified contour | Same slow tracing, with brief glances to check position | Occasionally, for a second | Accuracy while keeping the observation habit | Finished studies of hands, plants, objects |
| Cross-contour | Lines that wrap across the surface of a form, like rings or a grid | Yes | Show volume and surface direction | Drapery, figures, organic shapes |
| Continuous line (single line) | The whole drawing in one unbroken line | Yes, usually | Flow, economy, connection between parts | Portraits, gesture studies, decorative line art |
| Gesture (for contrast) | Fast, loose lines that capture movement and pose | Yes | Energy and overall action, not edges | Figure poses, animals, warm-ups before contour work |
Gesture is fast and contour is slow, so many classes pair them: a few one-minute gestures, then one slow contour study.
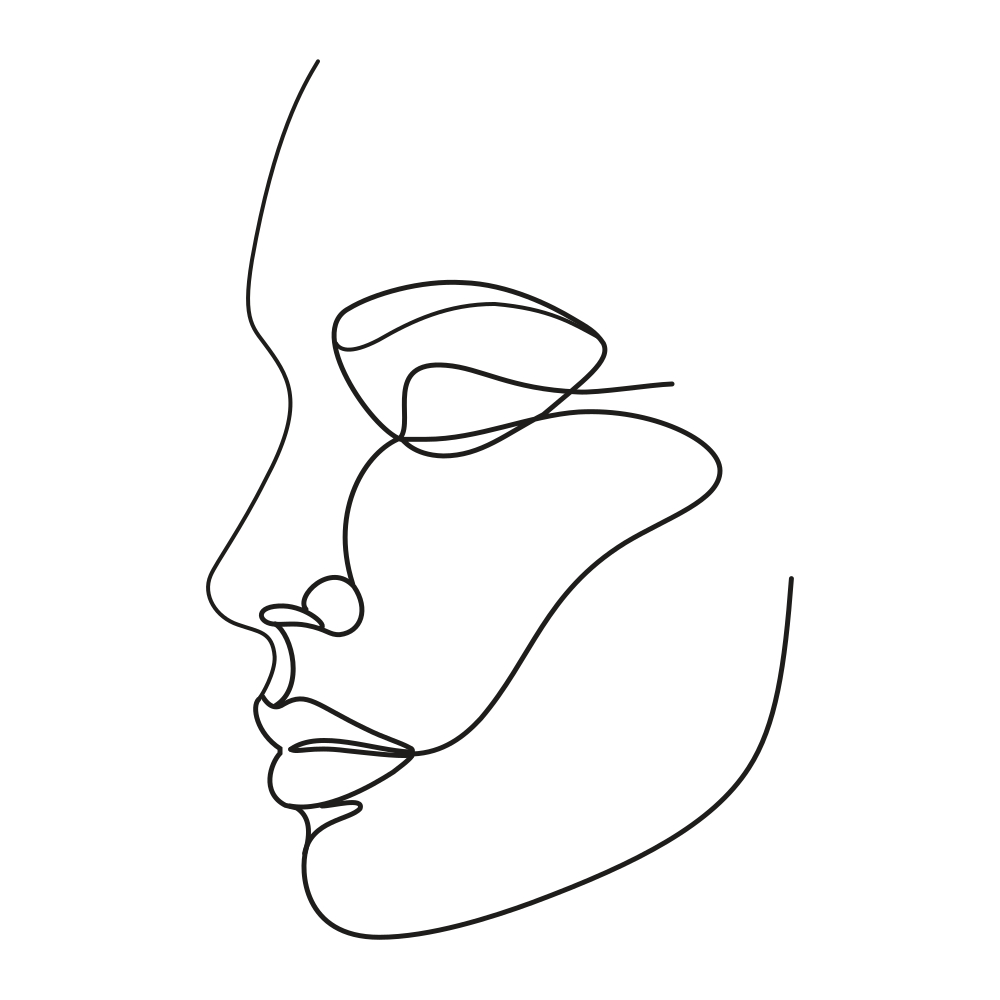 A continuous one-line portrait generated in LineSVG, an example of the single-line style.
How to do a blind contour drawing
You are not trying to make a good picture here. You are trying to look harder than usual.
- Choose a subject with plenty of edges. Your non-drawing hand, a crumpled paper bag or a houseplant works well.
- Tape your paper down and sit so you can see the subject without turning your head much. Some people cover the drawing hand with a box so they cannot peek.
- Set a timer for five to ten minutes. The timer stops you from rushing to finish.
- Pick a starting point on an edge and place your pen on the paper.
- Move your eyes very slowly along the edge, and move the pen at the same speed. Imagine the pen is touching the subject. When your eye meets a bump, the pen makes a bump.
- Do not look down. When you reach the end of an edge, let your eye travel to the next one and keep the pen moving with it.
- Keep going until the timer ends, even if you feel lost. Then look.
The result will be distorted, and that is normal. A good blind contour has slow, specific, wobbly lines full of small observations.
Modified contour and cross-contour exercises
Modified contour
Modified contour keeps the slow pace of blind contour but lets you glance at the paper to reconnect the lines.
- Start on an edge and draw slowly, eyes on the subject.
- When you reach a corner or a new section, glance down for a second to place the pen, then look back at the subject.
- Spend about 80 to 90 percent of the time looking at the subject, not the drawing.
- Include inner contours: overlaps, folds, the edges of shadows if they form clear shapes.
Give yourself 15 to 20 minutes. The result should look much closer to the subject than a blind contour.
Cross-contour
Cross-contour lines run across a form instead of around its edge, the way stripes wrap around a sweater or latitude lines wrap around a globe.
- Draw a light outer contour of a simple rounded subject, such as a pepper, a shoe or a pillow.
- Imagine slicing the form into thin sections. Draw the edge of each slice as a line across the surface.
- Where the surface bulges toward you, the lines curve outward; where it turns away, they bunch together.
Cross-contour shows volume without shading, and it prepares you for hatching later.
Subjects and exercise ideas
Good subjects have clear edges, overlaps and some irregularity. Perfect geometric objects are less useful because your brain already "knows" them.
- Hands: always available, full of folds and overlaps. Try a different pose each day.
- Shoes: laces, stitching and creases give lots of inner contours. Sneakers are better than plain flats.
- Plants: leaves overlap, curl and twist. A single sprig is enough.
- Faces: start with a profile, which has a clear outer contour, before trying a front view.
- Still life: three objects of different heights, such as a mug, a lemon and a crumpled cloth, teach overlap.
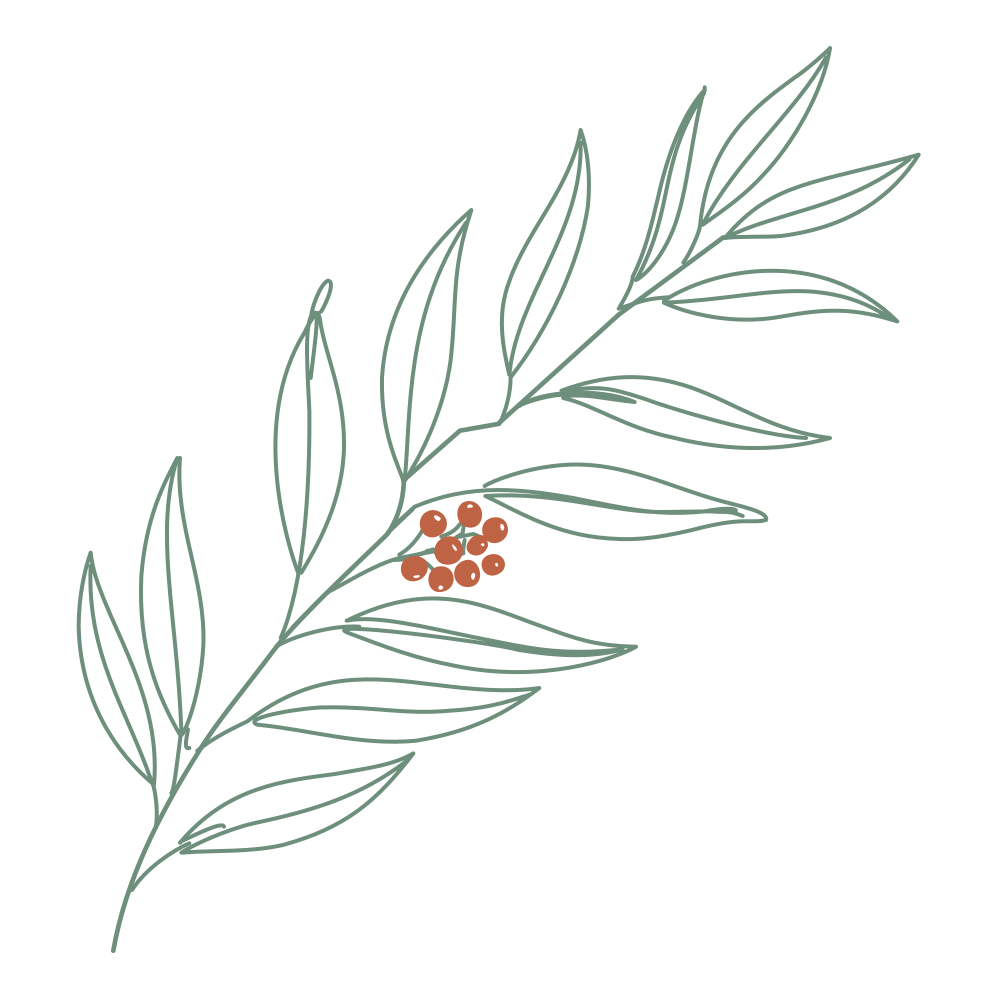 Botanical sprig line art generated in LineSVG. Leaves like these are good contour practice because of their overlaps and curls.
A one-week practice plan
About 20 minutes a day is enough to see a difference.
| Day | Exercise | Subject | Time |
|---|---|---|---|
| 1 | Blind contour, two drawings | Your hand | 2 × 8 min |
| 2 | Blind contour, then modified contour | A shoe | 8 + 12 min |
| 3 | Modified contour with inner contours | A houseplant | 20 min |
| 4 | Cross-contour | A pepper, banana or pillow | 2 × 10 min |
| 5 | Continuous line, no lifting the pen | A face in profile (mirror or photo) | 3 × 5 min |
| 6 | Gesture warm-up, then modified contour | A still life of three objects | 5 + 15 min |
| 7 | Repeat day 1 and compare | Your hand | 2 × 8 min |
On day 7, put both hand drawings side by side and compare the lines.
Line weight and common mistakes
Line weight
With no shading, the line does all the work. Press harder where a form overlaps another, sits in shadow or comes toward you; let the line thin out on lit edges and edges that turn away.
Common mistakes
- Sketchy, "hairy" lines. Many short, repeated strokes on one edge come from hesitating. Commit to one slow, continuous line instead.
- Drawing symbols instead of what you see. An eye drawn as an almond with a circle, or a leaf drawn as a pointed oval, means your memory took over. Look back at the subject and follow the actual edge, however odd it looks.
- Rushing. If the pen moves faster than your eye, the drawing turns into a guess. The timer is there to make slowness feel normal.
- Erasing too much. Leave mistakes visible and draw the corrected line next to them. Working in pen helps.
Contour line art from a photo (digital)
The exercises above train your eye; no software can do that for you. But sometimes you simply need a clean contour version of a photo: a reference to study before drawing, a guide for tracing practice, a tattoo outline, a coloring page, or a design to draw with a Cricut pen.
For those cases, LineSVG can turn a photo into an SVG made of lines:
- Open photo to line art and upload a PNG, JPG or WebP photo, up to 20 MB.
- Choose Editable lines. The result is made of real strokes, so you can change stroke width, color and dashes after generation. Dashes are useful for trace-the-line practice sheets.
- For a pen plotter or a Cricut pen, turn on Pure lines (for machines), which forbids any filled element.
- If the trace comes back with doubled lines along the edges, press Redraw as lines to redraw the image as clean lines.
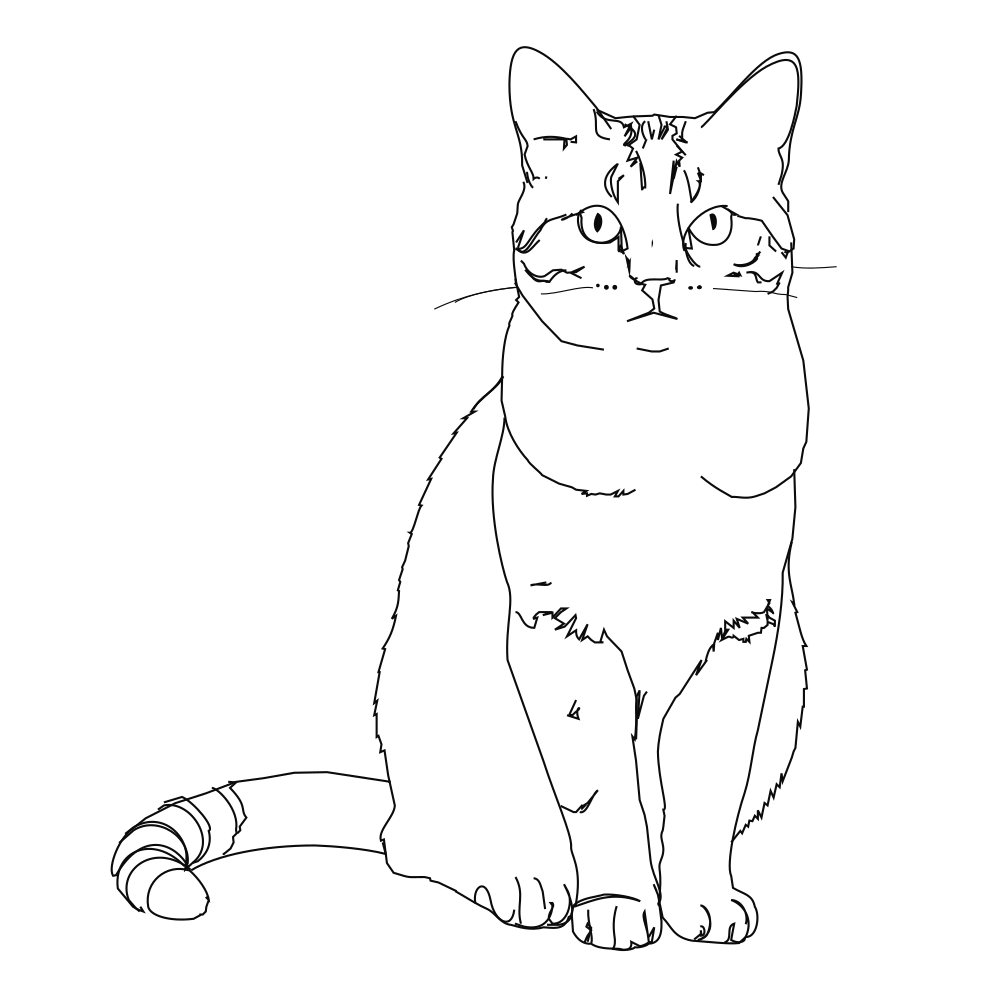 A cat turned into clean, editable lines from a photo in LineSVG.
If you like the continuous line style, the one line drawing tool makes single-line style drawings; one line drawings for weddings, pets and couples shows some uses. For tips on choosing and preparing photos, read the photo to line art SVG guide.
Each generation or conversion costs 10 credits, and new accounts get 10 welcome credits, enough for one run. A digital contour is a useful reference, but it is a tool next to your sketchbook, not a replacement for it.
Frequently asked questions
What is the difference between contour and outline drawing?
An outline records only the outer edge of a subject, like a silhouette. A contour drawing includes the outer edge and the inner contours: folds, overlaps and edges where a surface turns. That is why a contour drawing reads as a solid form while an outline looks flat.
What is blind contour drawing for?
Blind contour drawing trains observation. Because you cannot check the paper, you have to look at the subject slowly and closely, and you stop drawing from memory. The drawing itself is not meant to be accurate; the habit of looking is the goal.
Is contour drawing the same as one line drawing?
Not quite. Contour drawing is about following edges, and you may lift the pen as often as you like. One line (continuous line) drawing keeps the pen on the paper for the whole drawing. The two overlap: a continuous line drawing usually follows contours, and a blind contour is often done in one line.
What pen is best for contour drawing?
A pen you cannot erase works best, because it stops you from correcting every line. A fineliner around 0.3 to 0.5 mm is a good start. A ballpoint or a soft pencil held lightly also works, and a brush pen helps when you want to practice line weight.
Can I turn a photo into contour line art?
Yes. LineSVG's photo to line art tool turns a PNG, JPG or WebP photo into an SVG made of lines, with editable stroke width, color and dashes. Use it as a reference, a tracing guide or a design file, and keep practicing contour drawing by hand alongside it.
Author

Categories
More Posts
Tattoo line art: from AI sketch to a stencil with even line weight
Turn tattoo line art from an AI sketch or photo into a clean SVG stencil with even line weight, no black blocks, and strokes you can thicken before printing.
Animated SVG Line Drawings: Make Draw-On Animations
Make an animated SVG line drawing that draws itself on screen. Pick draw on, fade in or AI motion, set duration and order, then export SVG, MP4 or GIF.
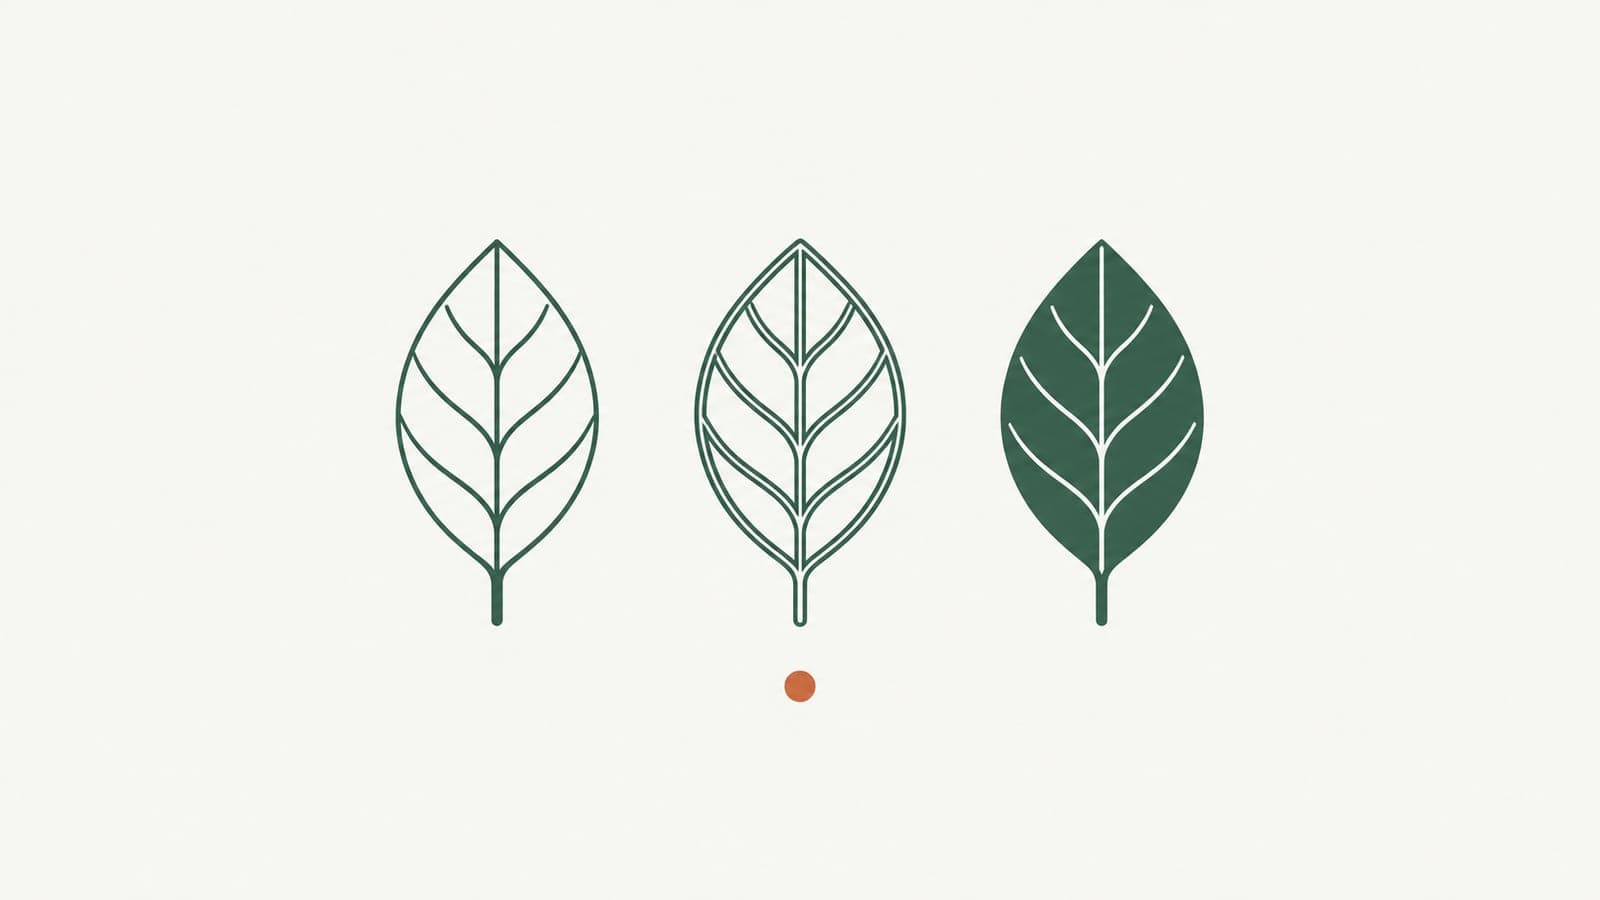
Stroke, outline or fill: the three kinds of line in an SVG
Stroke vs outline vs fill in SVG: what each structure is, which machines and apps need which (plotters, Cricut, lasers, vinyl), and how to pick the right one.